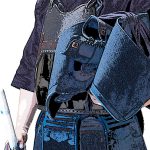
The tare prevents the shinai from striking the hips or in vital parts. Often when you try and strike the do you can miss and strike the hips. The tare absorbs the impact, and allows for safer practice.
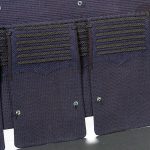
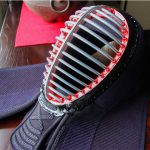
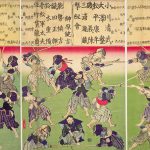
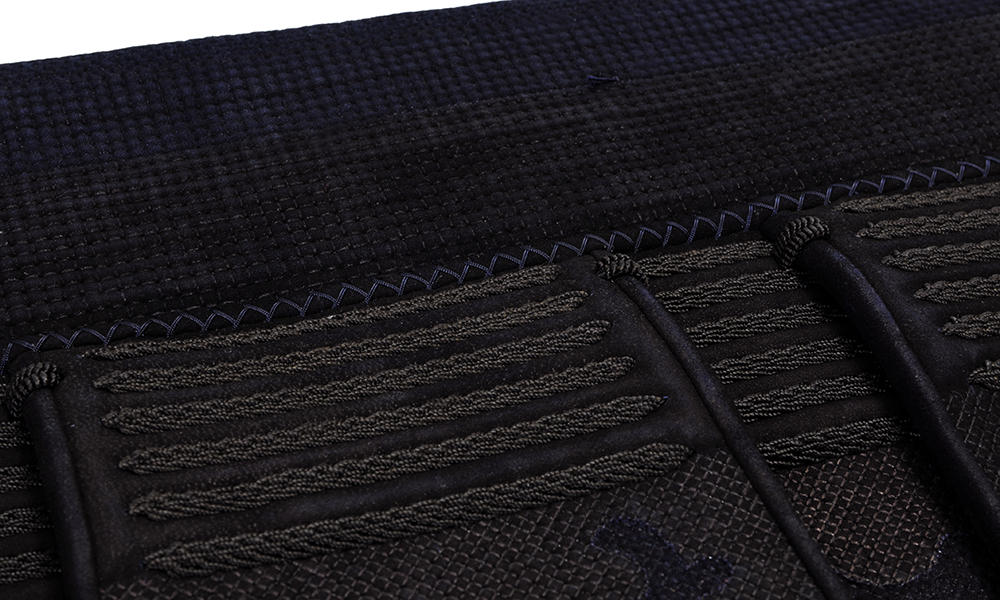
The tare consists of 3 big flaps called odare and 2 smaller ones called kodare. It is made of cloth to allow smoother movement around the waist. The name of the player or the organization the player belongs to is written on a name card and fitted on the odare in the center of the tare. The name card must be written in dark blue or white. The organization name is written at the top horizontally, and the name of the player is written below that vertically.
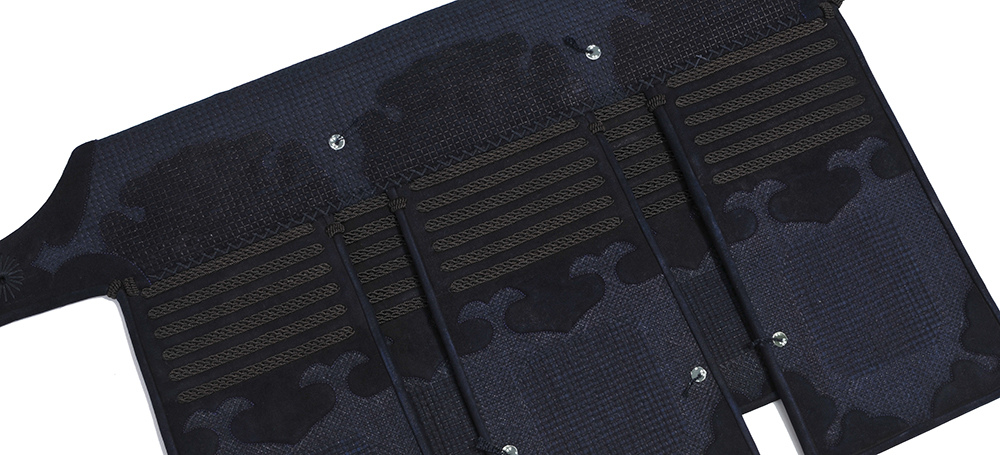
Some odare have decorations such as kumogata (cloud pattern). Tare decorations not only increased the sense of luxury but actually strengthen the tare and prevent it from going out of shape. Like other equipment, the tare has a hand padding type and a sewing machine type. The hand padding type is more solid and looks from beautiful.
Next is how to put on the tare. You fit the tare around your lower stomach, and bring the strings round your body once. After bringing the strings to the front, lift the odare and tie the strings in a bowknot, then lower the tare. Lastly, check that that the hem on the side of the do and the hem on the side of the odare is in a straight line.
The size of the tare is decided based on your height, weight, and waist length. Since you fit the tare round your waist, if the size does not fit it will limit your movement. If possible, you should go to martial arts equipment stores and choose one that fits your body.